Welcome back! I'm super duper excited to share this transformation with you today! I was walking through Ross the other day and found this Chateau purse for around $40. No way would I spend that much money on this one purse, but it definitely caught my attention and made me wonder if I could create a copy-cat version of my own. (Prepare for lots of pictures folks!)
 |
| Blue Suede fringe purse |
I was especially intrigued by the detail
 |
| Twisted and studded |
So I went to the thrift store to find something I could use to make a copy-cat version of this purse. While I was there I found this fabulous navy blue dress.
 |
| Before: Long navy blue dress |
 |
| Before: From behind |
I loved the golden shoulder buttons, and it even came with a belt!
 |
| Shoulder Button-tastic! |
 |
| Belt |
It was the perfect color, and was long enough that I thought I could remake it into a dress AND a purse! I got to work on the dress first.
In making the dress, first I snipped out the shoulder pads to see how the dress would fit length-wise.
 |
| Outro shoulder pads. I'll see you later...... |
Then I cut enough length off the bottom to make the purse, but not make the dress too short.
 |
| See ya length! |
I folded the dress in half to cut both arms at the same time.
 |
| Chop off those arms! |
 |
| Short sleeves, short length |
The area under the arms was too billowy for me, so while it was inside out I pinned and sewed from the elastic waist area up about an inch or so past the original armpit seam, then out the new sleeve area. It took me a few tries before I got the right fit. After that I cut off the excess fabric (don't want to have fabric bunched up under your arms!).
 |
| Creating a new sleeve size |
Once I sewed the right sleeve size, I folded, pinned, and hemmed a new sleeve seam on both arms.
 |
| New sleeve hem |
I wanted to save the pockets, but they ended up being too much hassle
with the new silhouette, so I cut them off as I sewed a
new seam down the skirt. I then folded and sewed the bottom hem of the skirt. I also shortened the belt a few inches.
 |
| New skirt hem |
That was all I did to transform the dress from drab to fab! Here's the after photo of the dress, but PLEASE keep reading, because I continued on to make that copy-cat purse I showed at the beginning of the post of which I'm SUPER proud!
 |
| After! Navy blue mini-dress (w/ belt) |
 |
| After: from behind |
 |
| After: Without a belt |
 |
| Kept the button action! |
I love the new dress, but I LOVE the new purse, so KEEP READING (please)!
- - - - - - - - - - - - - - - -
Remember all that length in the before photo?
 |
| Lengthy skirt |
I took the bottom of the skirt and sleeves and transformed them into a copy-cat version of the $40 Chateau purse.
|
| Original purse |
|
| Skirt + Sleeves = Copy-Cat Purse |
First I un-hemmed the skirt material to give the fabric a bit more length.
 |
| Ripping the hem |
I separated the front and back half. and instead chose to re-sew them so that there would be more height. While doing this, I pinned and sewed the material with a dip in the front to capture the essence of the original purse.
 |
| New body of the purse with a dip |
After sewing on the layers, I flipped it inside out and sewed the side and bottom seams. The original purse was almost flat, but had bout a 2 inch rectangle bottom. To get this effect, while looking at the inside out bottom, I pulled the 2 sides away from each other so the bottom seam laid in line with the side seam and made a triangle. I pinned the triangle about an inch from the corner, then sewed straight across the base of the triangle (hopefully that made sense!).
 |
| Inside out bag, looking at the bottom. Sewed straight across where the pin is. |
Turn the bag right-side-in and you now have a square purse bottom!
 |
| Square corner! |
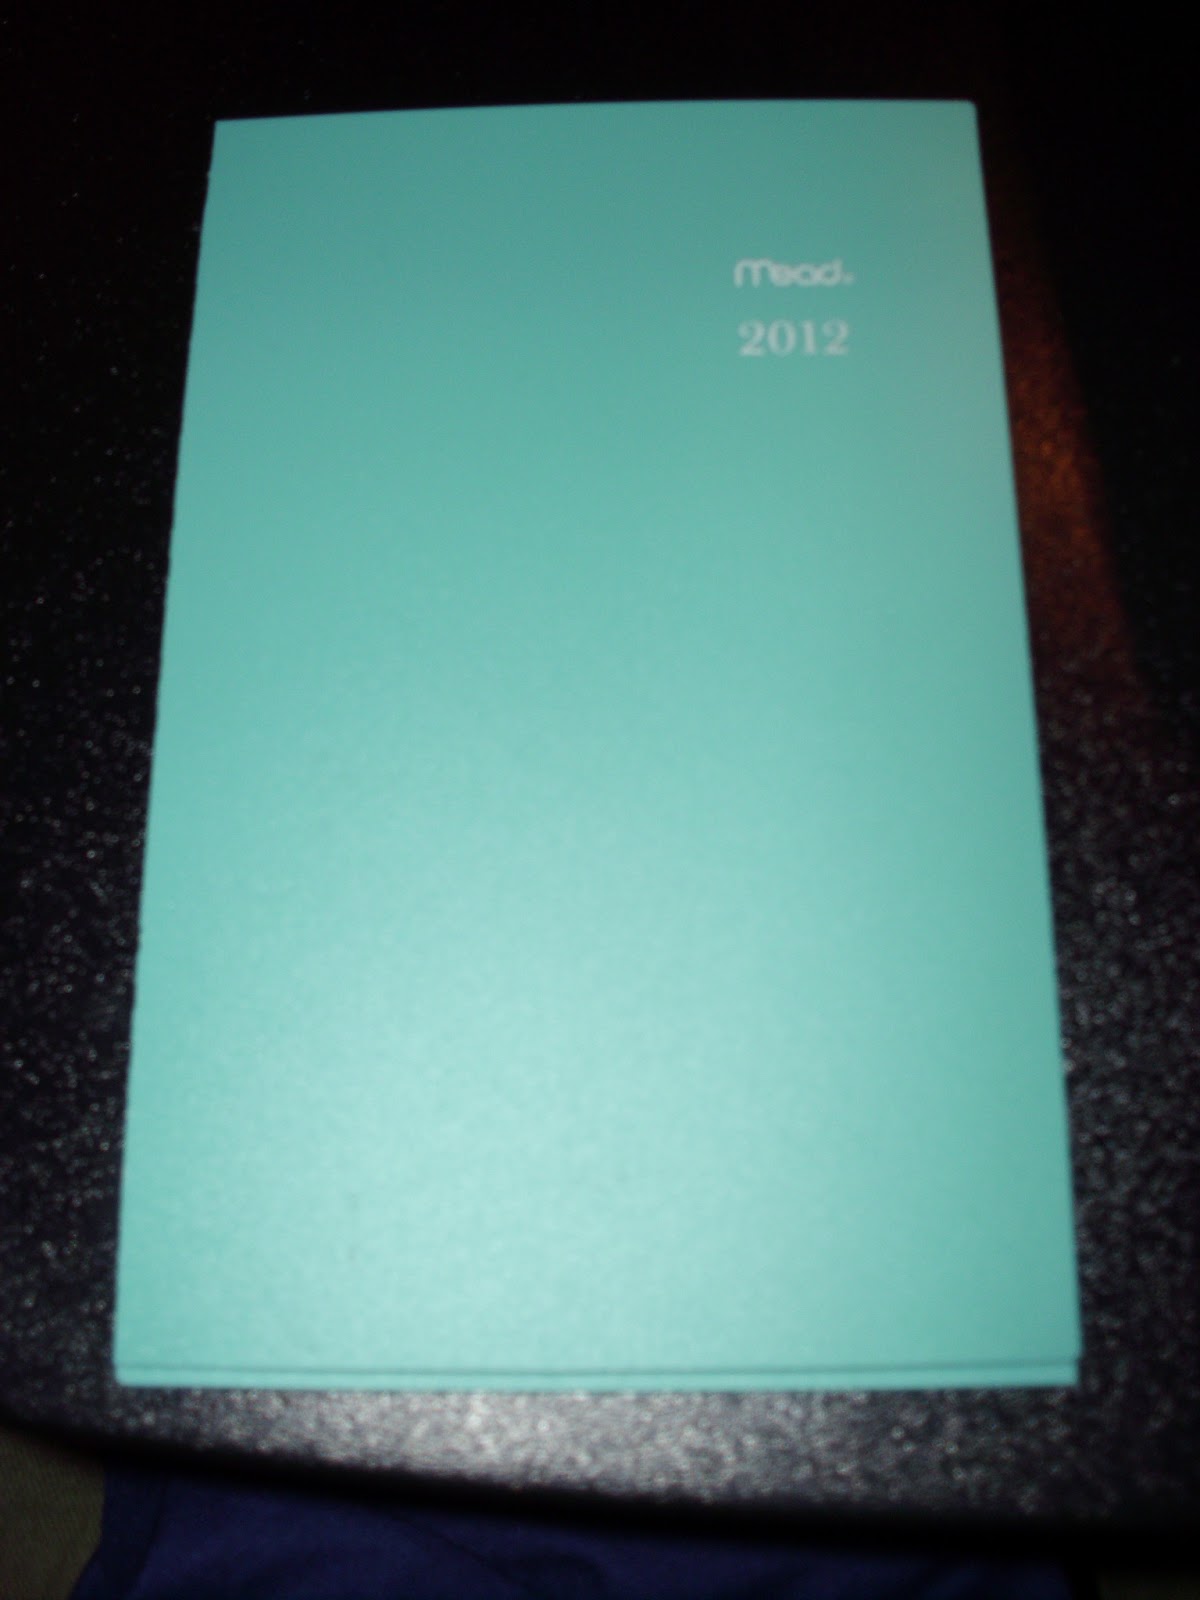
I wanted to make the purse bottom sturdier, so I recycled the plastic cover of my 2012 planner (new year, new planner).
 |
| "Auld Lang Syne" |
I cut out 2 rectangles about 2 inches wide, hot-glued them together (it wasn't long enough), and rounded out the corners (don't want them piercing the bag!). I then hot glued the plastic in 3 spots on the inside bottom of the purse.
 |
| Just enough hot glue to hold it on. |
Next, I got working on the inside lining of the purse. I had some material left over from an old nightgown from a previous project (yet to blog about), so I took the material and cut out a rectangle slightly smaller than the dimensions of the outer purse. I wanted to add pockets to hold my phone and iPod, so I doubled up a second, smaller rectangle and pinned it to size.
 |
| Does 2 non-smart halves equal 1 smart phone? |
Then I sewed it onto the inner purse lining. I kept my phones in the pockets to make sure they each had enough space (but making sure they didn't get damaged).
 |
| New pockets for my devices |
I sewed the lining closed on the side and bottom, and gave it a square bottom the same way I did with the outer shell, and set it aside for a little bit.
I began working on the details of the purse. I cut and opened one of the long sleeves from the original dress, and sewed it to the front of the purse.
 |
| Newly sewn flap |
Then I carefully cut thin strips (about 1cm) from the bottom of the flap up to the top of the flap.
 |
| Cut thin strips |
I cut a small slit at the top of each of the strips (about 1/2 inch slit), and one by one, took the bottom of the strip and pulled it through the slit to make the twisted effect of the original purse.
 |
| Pull the strip through the slit |
With that done, I worked on the studs. I had some colored brads as part of my school supplies that I thought would work for the studded effect on the original purse.
 |
| Multi-colored Brads |
I chose to use the gold brads and set them out in their alternating large and small pattern. Then I poked small holes with some sharp scissors, put the brads in, and opened them to secure them in place.
 |
| Newly studded |
 |
| Brads from the inside (this will be covered) |
After all of this I inserted the white lining with the pockets into the purse and flipped the top length into the purse, sewing them both down and covering the brads. Now the inside of the looks like a normal purse with pockets.
I looked into my school supplies again and found some round metal minder rings.
 |
| Binder Rings |
I hot glued them closed and sewed them into other short strips of sleeve I had sewn together.
 |
| Hot Gluing Binder Rings |
 |
| Ready to be sewn on! |
I sewed the strips with the binder rings to the front of the purse. Then I took 2 strips of thick fabric navy blue ribbon, folded it in half longways, and sewed it onto the back of the purse and around the metal binder rings. I also sewed on a thin strip of Velcro to keep the purse closed.
 |
| Velcro to keep it closed |
After hours of work and a number of reality TV shows playing in the background, I finished my new, copy-cat purse. I'm REALLY proud of this one!
 |
| Copy-Cat Studded Fringe Purse! |
 |
| Twisted and studded like the original! |
 |
| New purse! |
 |
| After- New fringe purse |
But I wasn't finished with the project. Notice how the title says Copy Cat Trio? I found a handy use for those shoulder pads from the original dress!
 |
| Whoop whoop! Shoulder pads! |
I saved a zipper from an earlier project, so I cut near the straight part on one of the pads. and sewed in the zipper.
 |
| Cut through |
 |
| Zipper |
Once I sewed the zipper in, I unzipped the zipper, pinned the edges of the 2 shoulder pads with the zipper facing in, and sewed around the whole shape (make sure the zipper is open!)
 |
| Sewing the shoulder pads together |
Then I flipped the project inside out through the open zipper (see why the zipper was open?).
 |
| Flipping inside out through the zipper |
Finally, I added the remaining brads just under the first layer of material on the side opposite the zipper. This third project was super simple, but turned out super cute. Check out my new coin purse to go with my new fringe purse!
 |
| Shoulder Pad Coin Purse! |
 |
| So cute! (The coin purse too, haha!) |
 |
| No money inside yet! |
There you have it! I sewed up a storm yesterday, but ended up with 3 adorable, color-coordinated pieces for less than $5. And I had fun! Who'd have thought that one original dress would result in such fabulosity! I hope you enjoyed this Copy-Cat Trio transformation. Maybe next time I'll separate this into 3 different posts to make them shorter. I was just so excited!
 |
| 3 color-coordinated pieces |
If you like what I'm doing, please, spread the word of my blog to friends and family. The more to inspire, the merrier! Until next time, blessings.


.JPG)


Well ...I guess your next project can be my custom purse..with lots of pockets and neat fabric.I like the purses with outside pockets with a velcro closing top. I got a great Christmas stocking to make a sweater for next year. I will be looking for the perfect sweater to do over. love and hugs.
ReplyDeleteYou are so freakishly talented. Love this!
ReplyDeleteI know you are proud of that purse but you should just be proud of yourself because that is a wonderful talent you have. :)
ReplyDeleteWhat wonderfully kind comments...all of you! Thanks for the encouraging support!
ReplyDelete