October is my favorite month of the year. It's officially a whole moth of Autumn, the weather starts getting cooler, and pumpkin-flavored things are starting to show up on shelves. Not only that, but it's the month of my BIRTHDAY!!!
I am definitely one to complain about the heat, but I love cold! (You can always put more on when it's cold, but you can only take so much off when it's hot). Speaking of layering up, I've been on the hunt for an inexpensive, comfy black cardigan for some time now. For some reason I can't seem to find one that suits me just right. So I guess when I can't find it, I can try to make it!
I found just the right piece.
 |
| Before: Black sweater with weird collar fabric |
 |
| Before: From behind |
I picked up this asymmetrical black sweater from a thrift store for about 2 bucks. It had this weird hanging neck fabric awkwardly attached at both sides of the collar.
 |
| Strange attachments |
It was too short to be a wrap scarf...
 |
| This is how this piece of fabric made me feel. |
...and it definitely didn't wrap around the front.
 |
| ~~Ugh~~ |
Not only that, it had a weird cross-over gap at the front that just wasn't working.
 |
| NOT working for me |
I just really hope that this was someones failed project and that it didn't come from the store like this.
First things first: That hanging fabric had to go. Now.
 |
| No longer bound to the weird neck fabric |
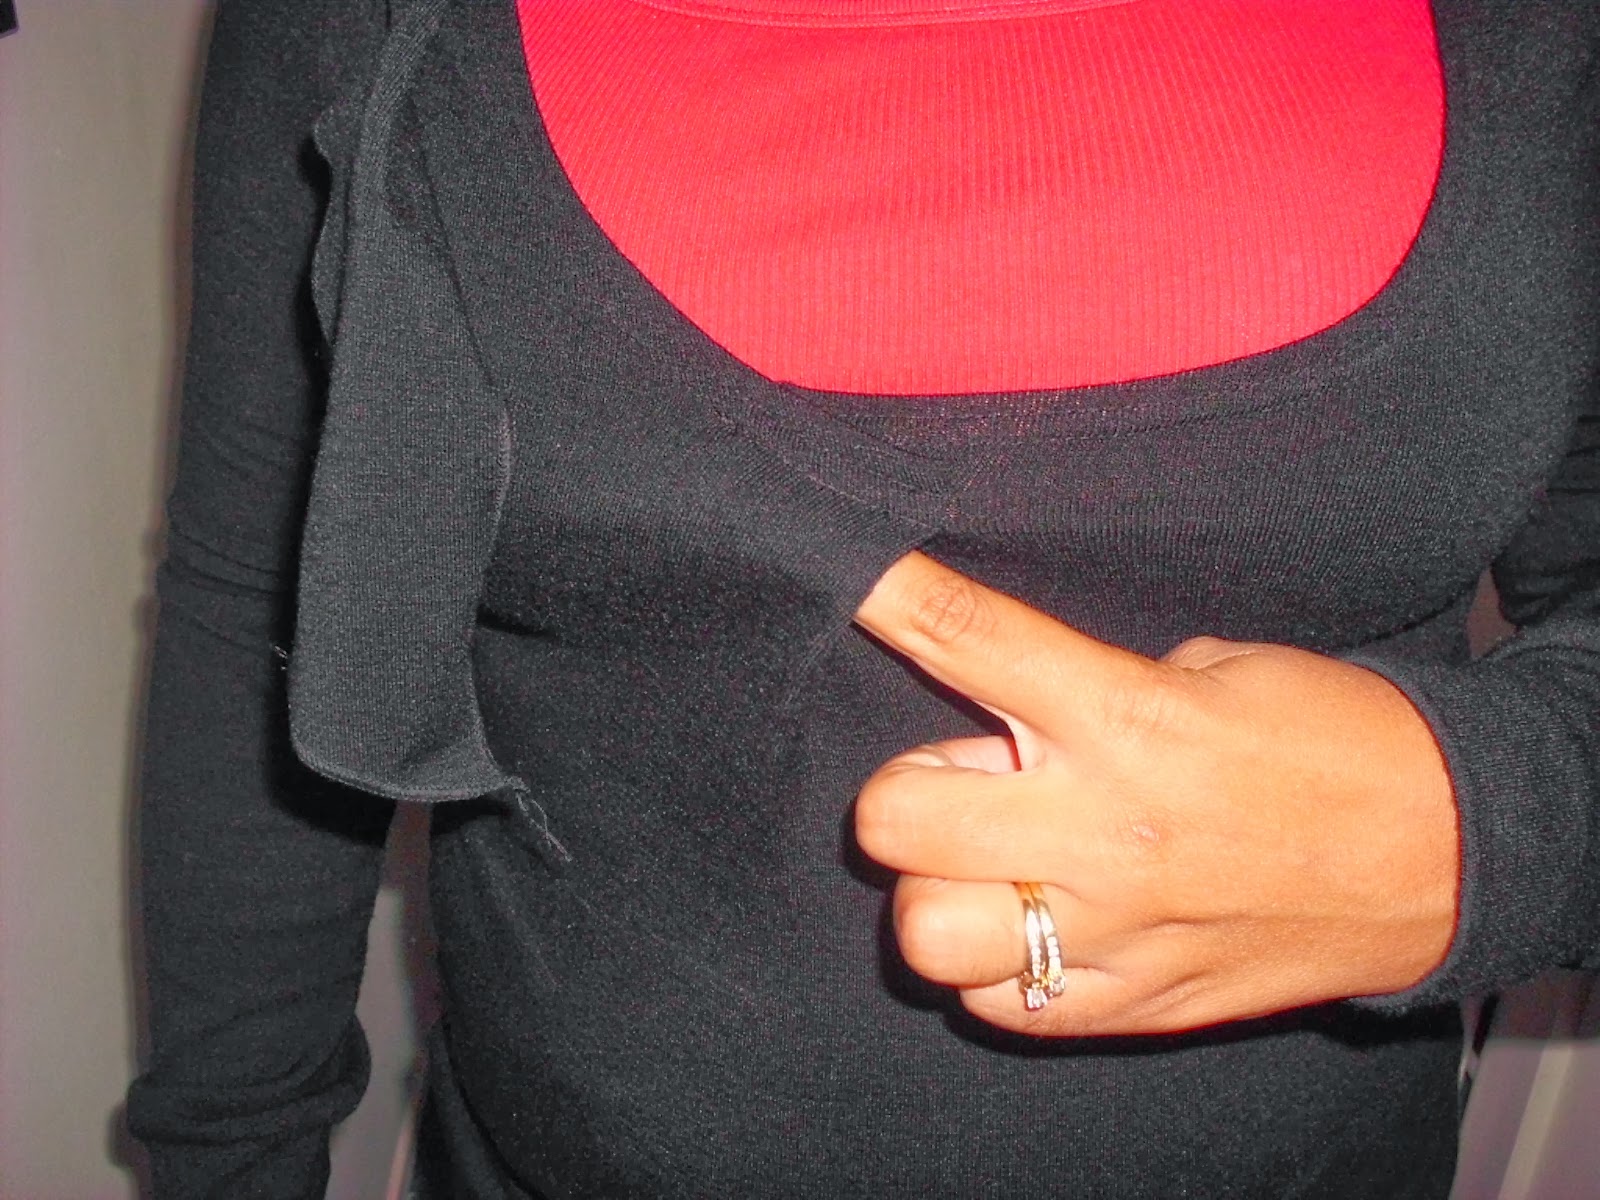
Next, I had to free up the cross-over-stitched bust.
 |
| Bust, you are released! |
Now that I had a simple, un-bound black sweater, it was time to turn this into a user-friendly cardigan. I folded the front in half so the side seams touched, pinned at the sides and near the folded center, and then cut straight up the center fold so I had a straight cut without having to measure.
 |
| Folding and pinning |
 |
| Cutting up the folded and pinned center |
After that, I flipped it inside out, measured about 1cm from where I had just cut, and pinned and sewed a new hem on each side of where I had just cut.
 |
| Measuring, folding, and pinning a new center hem |
Once I had sewn the hems on both sides, I measured and sewed button holes on one hem (laying paper on both sides as I sewed and then ripping the paper off, since the stretchy material by itself bunched up on my machine)...
 |
| Sewing button holes on the new hem |
...and measured and sewed buttons on the other.
 |
| Prepping the buttons |
 |
| Sewing on the buttons |
And that was that! No more are the days of only being able to wear a rigid blazer over my summer shirts as I transition into cooler weather. Now I can wear my comfy new cardigan!
Here again is how it looked before:
 |
| Before: Awkward Black Sweater |
|
| Before: From Behind |
|
| Before: How did this happen? |
And here's what it looks like now!
 |
| After: Comfy Black Cardigan |
 |
| After: No more neck strap! |
 |
| After: Open and casual |
If you can't find it, make it! I'm happy with how it turned out, and look forward to the many days wearing it sipping hot cocoa and eating pumpkin-flavored everything!
I hope you've enjoyed your weekend. I've got 2 more projects to post that I completed this weekend, so look for those in the upcoming days!
Until next time, blessings.
I just love everything thing you make and can't wait to see the next thing.
ReplyDelete