 |
| Superbowl spread!! |
This week I'm working hard on applying for jobs and trying to fit in some time to sew, so until I've got something new, I'd like to feature another throwback to a transformation I did a few months back. (I apologize for the lack of process pics and the graininess of the photos).
This is what the shirt looked like before:
 |
| Before: Super duper frumpy |
This was a super duper frumpy dark green-ish button-up shirt made out of some stretchy material. I got it for a buck at a thrift store. I decided to take a little risk with the back of this one. Let's see how it turns out.
1) First thing I did was remove the sleeves. Then I sewed a new hem around the edges of the arm holes.
2) I also removed the tag, as I was turning this one around and didn't want the scratchy tag at my throat!
3) I removed the buttons, as I was going to leave the back open (I usually save buttons for later projects. I used these on the burgundy blazer piece here). I cut off the button panels and sewed new hems.
.jpg) |
| Removed Buttons |
4) Next, I used the sleeve material to cut off a few thin strips. I sewed the strips together to make one long strip, then folded it hot dog style, sewed a long seam, and flipped it inside out. I cut the long sewn strip into four medium-length strips. I also made a slightly thicker strip the same way.
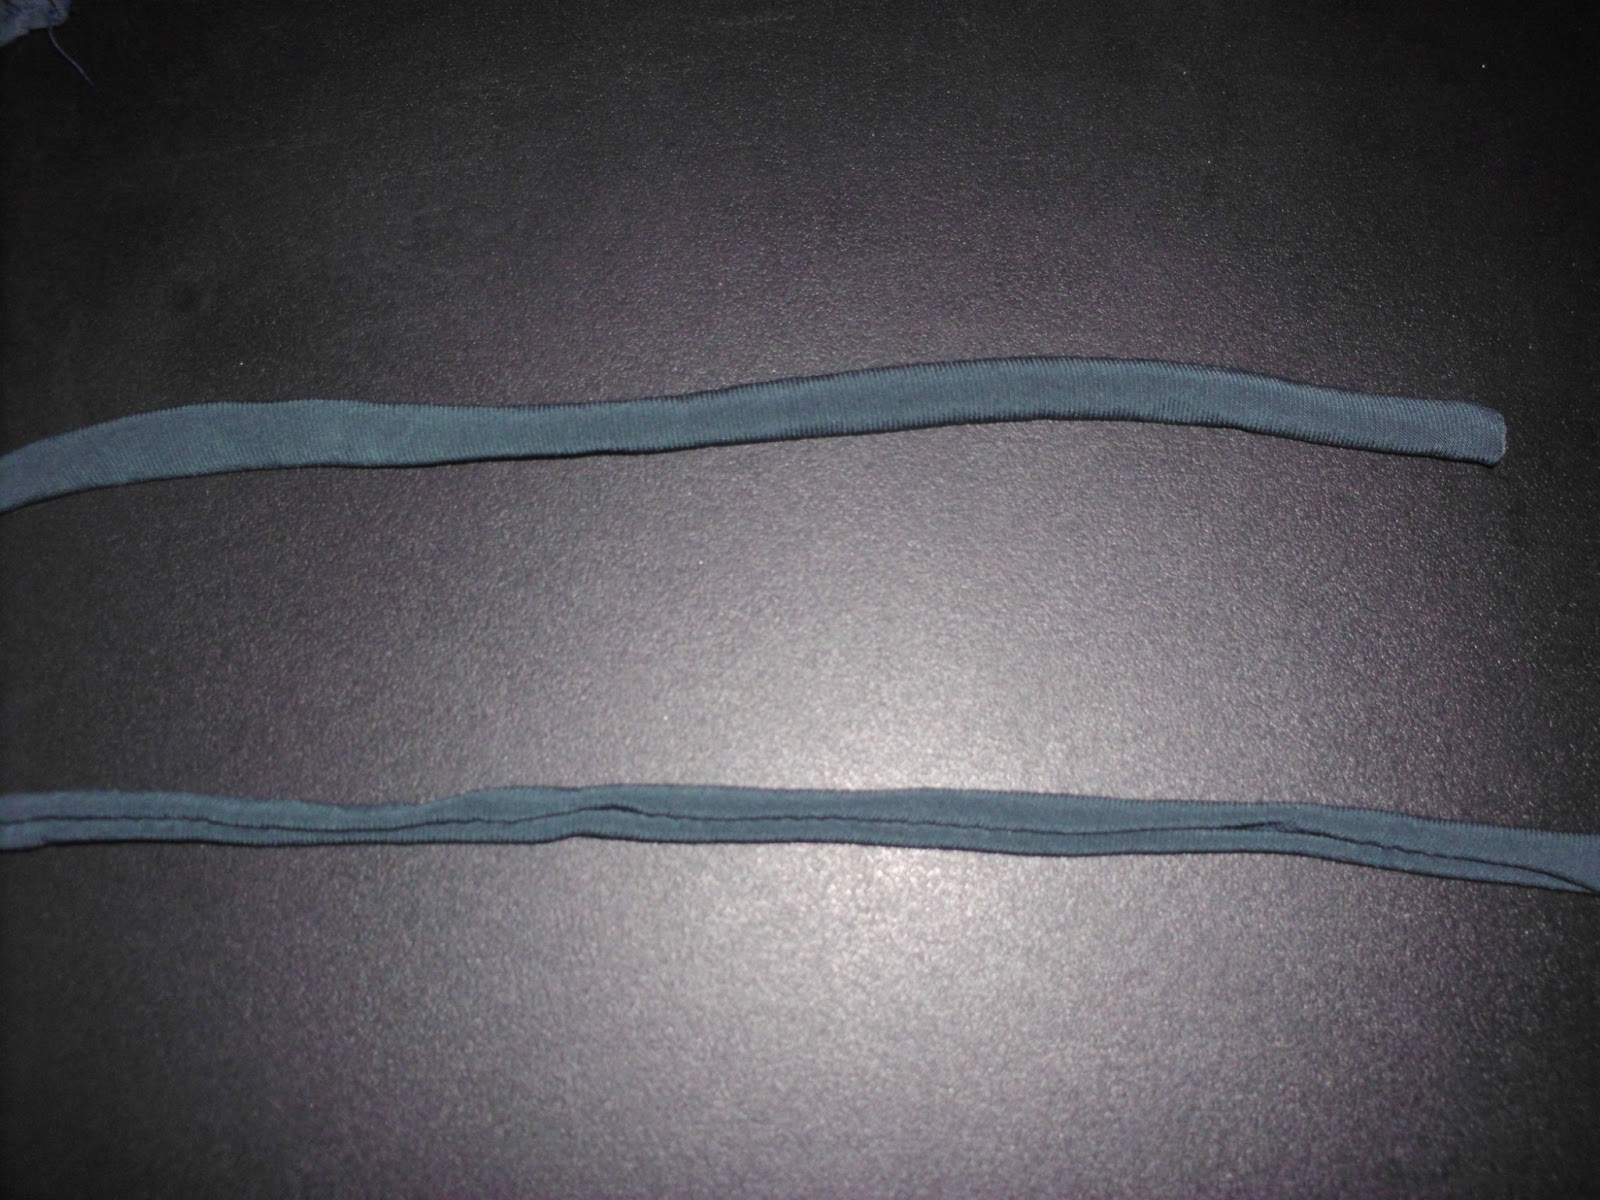 |
| Strips |
Remember this material from the brown sequined shirt I posted a few posts back? (If not, check it out here.)
 |
| Shiny patterned material |
.JPG) |
| Brown sequined shirt- after |
I had some left-over shiny patterned material, so I cut and sewed two long strips the same way as with the sleeve material.
5) I took the two long shiny strips and one long green strip, and braided them together loosely. Then I pinned and sewed the braid in a zig-zag pattern across the open back of the shirt.
.jpg) |
| Braided back |
6) I flipped the shirt inside out, and went to the shoulder line. I took the remaining 4 medium strips I had sewn, laid 2 of them on either side of the shoulder line, and sewed the ends at the collar.
7) I cut 2 small rectangles from the leftover sleeve material and laid them over the 2 strips I had sew on near the collar. Then I sewed 3 lines on the sides and down the center of that rectangular patch from collar to arm hole so that it encased both medium strips.
 |
| Encased strips |
8) I pulled the 2 strips taut, scrunched the shoulder material, and tied it a bow.
 |
| Shoulder bow |
8) I took some remaining green material and shiny patterned material, twisted it together, and rolled it into a little rosette. I sewed it onto the top left of the new shirt for an added accent to the front.
 |
| Rosette |
And so I had the final product. Here's a reminder of what it looked like before:
.JPG) |
| Before: Frumpy button-up shirt |
And here's what it looked like after.
 |
| After |
 |
| After: from behind |
I felt a little like Poison Ivy from the Batman comics with a vine climbing my back.
 |
| Poison Ivy |
Well, I took a bit of a risk and got creative with the back. I was pleased with how it turned out. Definitely an upgrade from the frumpy start!
On a side note, I counted the items in my big bag of clothes awaiting transformations, and I've got at least 25 more projects to work on. Phew! We'll see when I choose next.
Looking forward to sharing a brand new re-do with you soon!
Until next time, blessings.
No comments:
Post a Comment