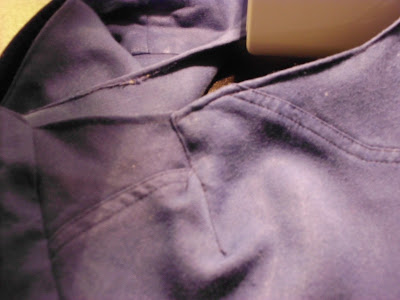
Every so often I find an item so awesome, that I just have to have it! Today's post is one of those treasures.
 |
| Before: Blue big shoulder dress |
 |
| Before: From behind |
I found it at a new thrift store for about $3. It had this rad leather shoulder design that I didn't really know what the heck was supposed to be.
 |
| Who makes this? |
I feel like I should have been doing the two-step in an 80s country western club.
 |
| Helloooooo Dolly! (Both padded and not padded!) |
Can't do country without the big hair!
 |
| WOOOOOO!!! |
 |
| My hands totally went into Velociraptor mode, lol! |
However amusing, those shoulder pads definitely weren't finding their way into my closet. So let's see if I could tame this dress!
First, those shoulder pads had to go. Conveniently, they were attached by velcro and ripped out easily.
 |
| Bye bye shoulder pads |
Next, I cut off the sleeves around the shoulder designs leaving the collar in tact, and saved the sleeves for later.
 |
| Removed the sleeves |
I then ironed it. I chose to iron it after cutting because ironing around the leather shoulder designs would have been a pain. (I've actually had this same iron since I was a child!)
.JPG) |
| Trusty ol' iron |
Next, I cut and evened-out the shape I wanted with the front and back collar.
 |
| Shaping the collar |
Those huge shoulders made for a lot of material under the arm, so I put it on inside out and pinned the excessive material under the arm. Then I sewed along the pins and cut off the excess material.
 |
| Pinning and sewing the underarm |
After that, I folded and pinned a new hem around each arm hole entailing the underarm, back, and collar.
 |
| Pinning, pinning, pinning |
I sewed it all up and cut off the excess material, tried it on again, and pinned and stitched 4 darts at the bust to make it fit better.
 |
| Darts at the bust |
With part 1 of the dress done, I moved into part 2: the shoulder designs.
I didn't want those special leather shoulder designs to go to waste, so I decided to go the purse route. I cut the designs off at the rounded sleeve seam.
 |
| Bird wings? I don't know. |
I laid them on top of each other with the decals facing one another, and sewed the bottom and both sides in a square. I cut off the excess and fake-serged the edges so it wouldn't fray.
I rounded out the top, and salvaged some of the Velcro that attached the shoulder pads to sew to the inside of the rounded edge on both sides to keep the purse closed.
 |
| Sewing on Velcro |
 |
| Pinched and pinned |
Then, when flipped right-side-in, the purse had squared bottom corners.
 |
| Squared corners |
I cut 3 long strips from the sleeves, and braided them together using my sewing machine to hold it steady.
 |
| 3 strips |
 |
| Frayed braid |
I sewed the ends of the braid to seal it, then sewed the ends to the inside sides of the purse.
Bada-bing, bada-boom, I'm done!
Here again is the before picture of this blue big-shouldered dress:
 |
| Before |
 |
| Before |
And here's the after result!
 |
| After: Sexy blue dress |
 |
| After: Closer up |
 |
| After: From behind |
With the big shoulder-distractions gone, the front design comes more to life. I really like the corset effect, and I like the back a lot!
And here's the purse:
 |
| Before: Strange shoulder design |
 |
| After: Funky purse |
 |
| Oh yeah, this dress has pockets! |
 |
| One of a kind purse |
Step by step, I brought this dress further from the 80s and took it into the future. It reminds me of something I might see in one of my favorite movies, the Fifth Element.
 |
| LeeLoo Dallas Multipass... |
Well, that's it! Let me know what you think. Leave a comment in the section below!
Also, I want to give a shout-out to my friend's new family thrift store called Heartland Thrift Store located in Montclair, CA. Check out their Facebook page for more info!
That's all, folks!
Until next time, blessings.
Magnificent
ReplyDeletereally cute, also my cars name is Leeloo :)
ReplyDelete