Thursday, October 24, 2013

#57: Thinking Pink: Fun With Ties

Hello All!

Another Wednesday has passed, and I made another pink-themed project in honor of Breast Cancer Awareness month. This one cost me a total of $2, and I got the materials at the 99 Cents Only Store.

A while back I had made this necklace out of a tie using this tutorial I found on Pinterest.


Tie Necklace


With this idea in mind, I had wanted to create a tie collar that is actually sewn onto the shirt. So when I found this pink shirt and pink-and-grey striped tie, I knew I had found a match.

Before: Plain Pink T-shirt

Before: Pink and Gray Striped Tie

I first started off by laying out the lengths of the tie around the collar of the shirt, then began overlapping the tie at a slight angle and pinning it to the collar of the shirt.


Laying out the center

Folding and pinning

I worked my way all the way around, and decided to keep some overlap of the thin end of the tie. Then I hand-sewed the top folded edges to the collar.

Bring it around town!

 When i put it on, it ruffled out too much like a clown collar.

Extreme clown collar

(Quick aside: I'm not afraid of clowns. I even wanted to be a professional party clown when was young. I woke up extra early every Sunday morning to watch the Bozo the Clown Show. I knew how to make balloon animals, paint faces, and even took a clown class in college! But if you try to look up images of "clown collar" on Google images, you'll find some hellish, freaky stuff. Thanks, but no thanks! Now, back to your regular programing.)


To keep it from flaring out too much, I went back and sewed the bottom of the folds onto the shirt too.


And there it is. Another Thinking Pink project for October.

Before: Plain pink tee and a tie


After: Pink tee with flair!

After: From behind

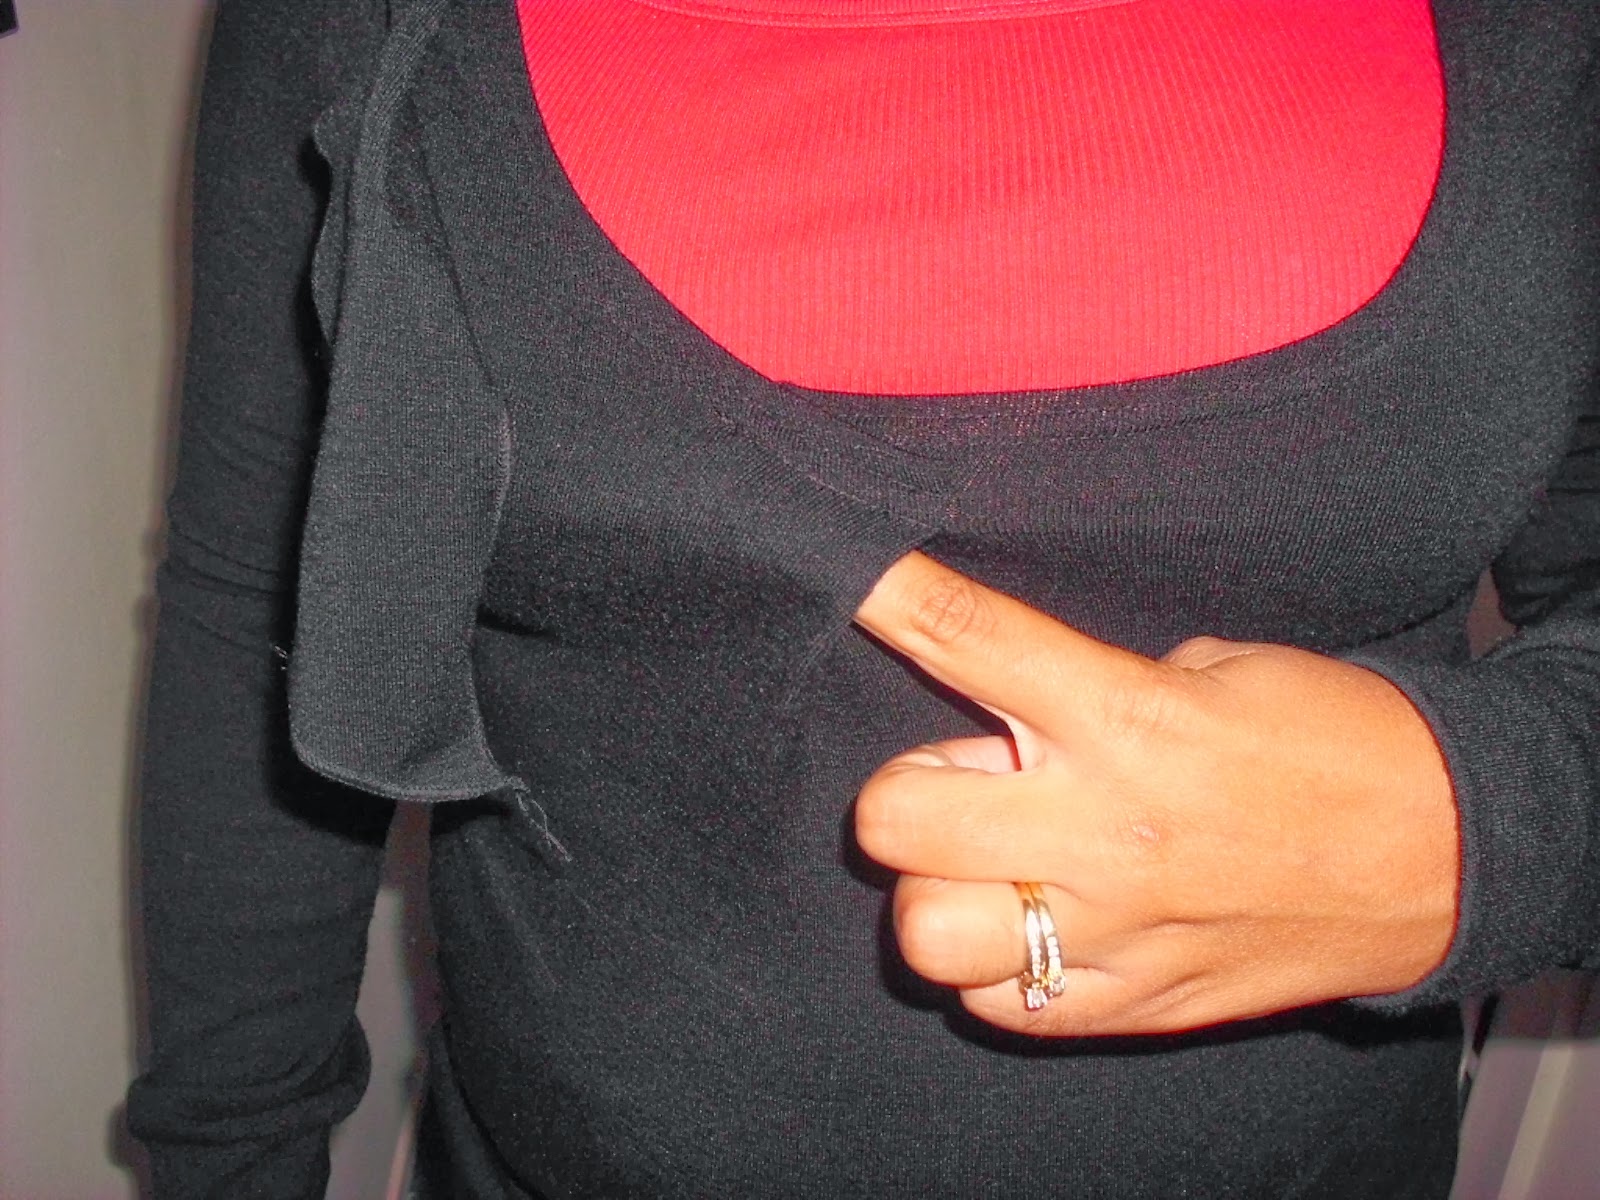
After: Paired with my grey cardigan

Maybe next time I will try using a thinner tie or embellishing it with buttons. I just ran out of time before heading to work.

I also found another tutorial for tie collars on v-neck shirts that you can totally use a sewing machine with. I might have to try that one out!

I hope you all have a fun, safe week. I'm excited about my Halloween costume, as I'll be making it this weekend mostly using stuff I already have or found at the dollar store! I'll post it next week!

Until next time, blessings :)

Friday, October 18, 2013

#56: Thinking Pink!

It's October, and I'm thinkin' pink! My company is encouraging employees to wear pink every Wednesday in honor of breast cancer awareness month, so when I found this shirt at the 99 Cents Only store, I thought it would work well.

Before: Victorian...Robot?

Before: From behind

I liked the design. I even liked the high collar. But the large boxy arms and shoulders just threw everything off.

This was going to be a pretty simple re-do:

First, I pinned together both sleeves to make the next step even.

Pinning the sleeves together

Next, I cut through both sleeves about 3/4 the way up.

Short-sleeved

After that I hemmed the new sleeve length.

Hemming the sleeve

My next step was to take it in on the sides a little by sewing, cutting the excess, and fake-serging the edges to prevent fraying.

Taking it in

I also hand-stitched a straight stitch across the shoulder seams and gave it a little tug to create some subtle ruching, mostly to reduce the length and boxiness of the shoulders.

Straight stitch and some ruching

Finally, I took an eye-hook fastener and hand-sewed it in between the small gaping area at the center of the bust. What a simple, discreet way to close the gap without adding another button!

Closing the gap

Here again is the before look:

Before: Big Victorian Frilly Blouse


Before: From behind


And here's the more practical, simple re-make:


After: Think Pink Blouse!

After: From behind

I've got another Thinking Pink project coming up soon!

Let us remember those afflicted and defeated by this cruel disease, and let us stand and rejoice with those still fighting and surviving! Even still, let us all (women and men) remember to be aware of the state of our own bodies through regular checks to prevent and catch early signs of breast cancer.

- - - - -

Given the theme, I wanted to share these beautiful mastectomy tattoos I saw in an article online.

Phoenix

Truly art

Here's a website if you want to see more of these inspiring tattoos (warning, there's some nudity).

And here's a helpful resource on self-exams that we should all be doing regularly.

Take care of yourselves.

Until next time, blessings.

Monday, October 7, 2013

#55: High Class Muumuu

What's up?

Yesterday I posted a comfy, cozy cardigan I re-made this weekend (check it out here if you missed it). Today I've got something even MORE comfy and cozy that really made me question whether to change it at all!

Before: High class Muumuu

Before: From Behind


I found this dress/cover.nightgown at a thrift store for about $4. I couldn't quite figure out what it was meant to be, so I looked at the tag to find some clues. Lo and behold, this is some pretty fancy gear:


David Brown for Saks Fifth Avenue


I looked up the David Brown for Saks Fifth Avenue line, and found that much of what remains is considered "vintage" and all of it is made out of this soft velour material. David Brown sure must have liked velour!

I only found one photo on the web that resembled this piece, and it was going for about $150 on Etsy! Score for me! It was listed as both a nightgown and a dress for going out. Perhaps it was a dress cover for chilly nights back in the day? I still don't know.

I knew how I wanted to change it, but as I wore it around my house, it was just so comfy and cozy that I seriously considered keeping it as-is and using it as a nightgown. It felt better than my best friend on a cold night....Snuggie!

Snuggie!

It even had a pocket :)

One pocket
 
I had to talk myself out of keeping it as-is. I'm not yet ready to have the muumuu nightgown style as part of my life ; )

So to begin, I cut off around 2 feet of length.

Measuring and cutting

Next, I removed the elastic from the sleeve cuffs.

Removing the elastic

After that, I pinned the sleeves together and cut about half the sleeve length (a bit more than shown in the picture).

Cutting the sleeves

Next, I wanted to take the sleeves in a bit, so I pinned up the armpit area and down the sleeves, then sewed and cut off the excess material.

Pinning to sew

Once the sleeves were sewn (it took a couple tries to get the right fit), I hemmed the sleeves and the bottom of the skirt.

Hemming away!

The basic, simple dress as it was still resembled a nightgown too much, so I decided to add a little something. Out of the sleeve material, I folded, sewed on 3 sides, and cut a rectangle of fabric.

Inside out rectangle


I flipped it inside-out, sewed the ends closed, and sewed a corresponding, smaller rectangle.


2 velour rectangles


After trying out a few techniques, I decided to hand-sew the small rectangle of fabric into a small cylindrical shape.


Velour ring


Then I strategically pinched together the large rectangle of fabric...


Pinching


...and slipped the ring over it to create a bow.

Velour bow

I carefully hand-stitched the bow together and hand-sewed it onto the front neckline of the piece so that the sides of the bow could droop.

And that was it!


Here again is the Saks Fifth Avenue muumuu from before:


Before: High class muumuu

Before: From behind


Paired with a thick belt, here's the new look:


After: Velour Dress

After: From Behind

I liked the gathered effect with the belt, so I didn't feel the need to take the dress in any.


So long muumuu, hello fun, still warm and cozy dress!


Stay cool those of you out there who haven't really reached fall yet. And stay warm those who definitely have.

Until next time, blessings to all!

Sunday, October 6, 2013

#54: Black Cardigan

Happy October!

October is my favorite month of the year. It's officially a whole moth of Autumn, the weather starts getting cooler, and pumpkin-flavored things are starting to show up on shelves. Not only that, but it's the month of my BIRTHDAY!!!

I am definitely one to complain about the heat, but I love cold! (You can always put more on when it's cold, but you can only take so much off when it's hot). Speaking of layering up, I've been on the hunt for an inexpensive, comfy black cardigan for some time now. For some reason I can't seem to find one that suits me just right. So I guess when I can't find it, I can try to make it!

I found just the right piece.

Before: Black sweater with weird collar fabric

Before: From behind

I picked up this asymmetrical black sweater from a thrift store for about 2 bucks. It had this weird hanging neck fabric awkwardly attached at both sides of the collar.

Strange attachments

It was too short to be a wrap scarf...

This is how this piece of fabric made me feel.

...and it definitely didn't wrap around the front.

~~Ugh~~

Not only that, it had a weird cross-over gap at the front that just wasn't working.

NOT working for me

I just really hope that this was someones failed project and that it didn't come from the store like this.

First things first: That hanging fabric had to go. Now.

No longer bound to the weird neck fabric

Next, I had to free up the cross-over-stitched bust.

Bust, you are released!

Now that I had a simple, un-bound black sweater, it was time to turn this into a user-friendly cardigan. I folded the front in half so the side seams touched, pinned at the sides and near the folded center, and then cut straight up the center fold so I had a straight cut without having to measure.

Folding and pinning

Cutting up the folded and pinned center

After that, I flipped it inside out, measured about 1cm from where I had just cut, and pinned and sewed a new hem on each side of where I had just cut.

Measuring, folding, and pinning a new center hem

Once I had sewn the hems on both sides, I measured and sewed button holes on one hem (laying paper on both sides as I sewed and then ripping the paper off, since the stretchy material by itself bunched up on my machine)...

Sewing button holes on the new hem

...and measured and sewed buttons on the other.

Prepping the buttons

Sewing on the buttons


And that was that! No more are the days of only being able to wear a rigid blazer over my summer shirts as I transition into cooler weather. Now I can wear my comfy new cardigan!


Here again is how it looked before:

Before: Awkward Black Sweater

Before: From Behind

Before: How did this happen?


And here's what it looks like now!


After: Comfy Black Cardigan

After: No  more neck strap!

After: Open and casual

If you can't find it, make it! I'm happy with how it turned out, and look forward to the many days wearing it sipping hot cocoa and eating pumpkin-flavored everything!

I hope you've enjoyed your weekend. I've got 2 more projects to post that I completed this weekend, so look for those in the upcoming days!

Until next time, blessings.